Sync Job from Jobsight to Clean Claims
Sync Job from Jobsight to Clean Claims

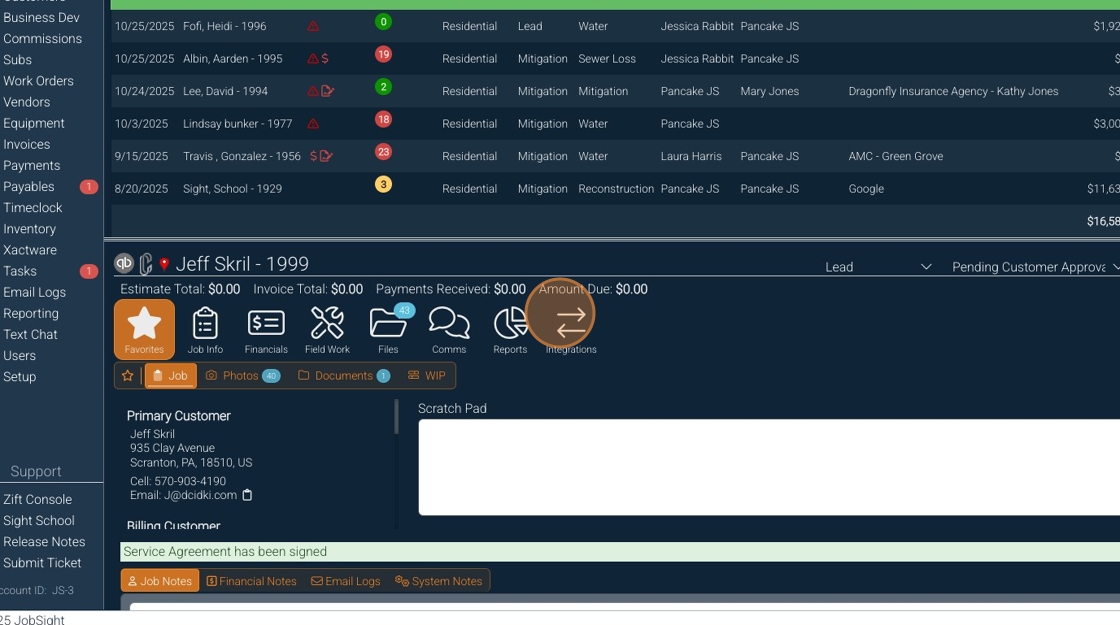
2. Click "Jobs"

3. Click the project you want to connect

4. Click integrations
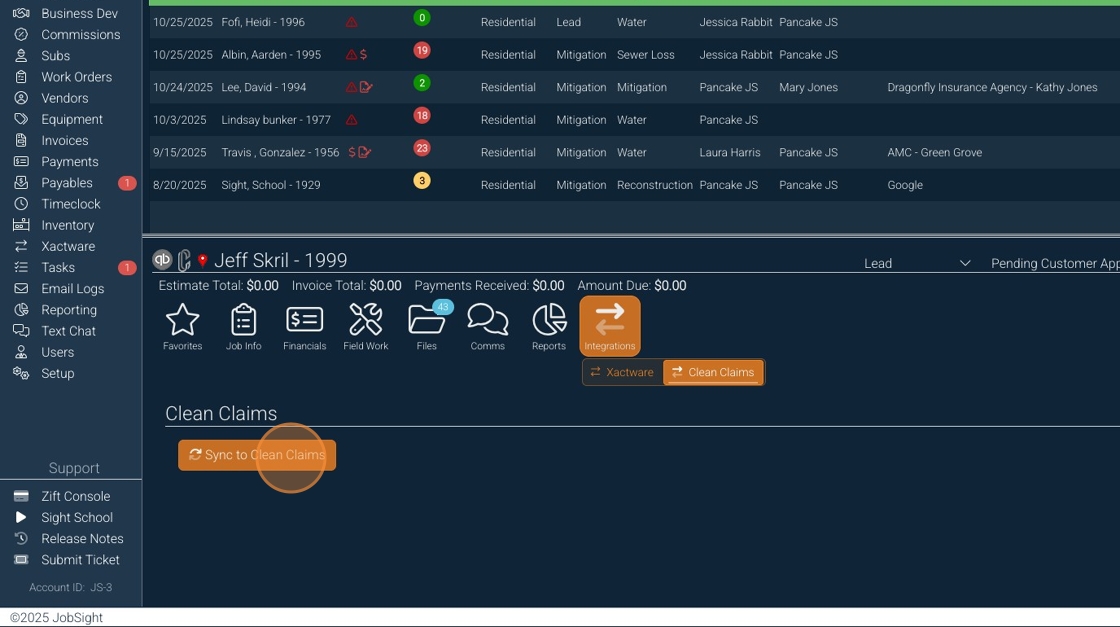
5. Click "Clean Claims"
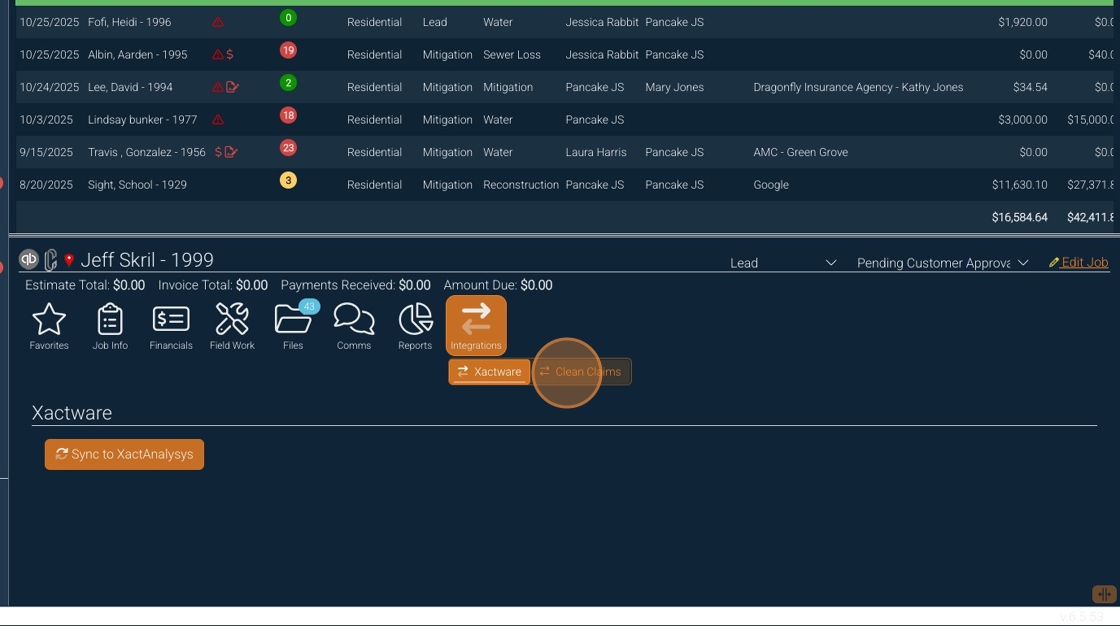
6. Click "Sync to Clean Claims"
7. Once the job has been synced, you will see the Clean Claims Job number displayed

8. Open Clean Claims
9. The project will appear in your Clean Claims account

Alert: Alert! If you are actively working in Clean Claims, refresh the page. On the app, close the app and reopen it to see the new job.
10. Open the project, and you will see the data transferred over from Jobsight. Complete any missing items and get started.

Related Articles
Importing a job from Jobsight to Clean Claims - Mobile
This guide provides a straightforward process for seamlessly transferring jobs from Jobsight to Clean Claims. By following these steps, users can quickly sync their projects. Please reach out to support@cleanclaims.com with any issues. 1. Open your ...
Set up your Jobsight: Clean Claims Integration
Set up your Jobsight: Clean Claims Integration 1. Navigate to https://app.jobsight.com and Log in 2. Click "Setup" on the bottom left of the home screen 3. Click "Integrations" 4. Click "Clean Claims" 5. Click "Connect to Clean Claims" Tip! Once ...
Clean Claims Feature - Photo Quality
<br> Selecting Image Quality in Final Reports 1. Accessing the Final Report Feature Log in to the Clean Claims system at app.cleanclaims.com . Navigate to the section for generating final reports. 2. Selecting Image Quality ...
Project Reports in Clean Claims
This guide will walk you through generating reports in your Projects in Clean Claims
New Clean Claims Photo Selector Overview 📸
<br> Procedure for Selecting Photos in Reports 1. Access the Reports Section Log in to the Clean Claims platform. Navigate to the 'Reports' section. 2. Select Report Images Locate the top toggle labeled 'Select Report Images'. Click on ...